Segments and columns
Switch between saved views of your library, choose which columns to show, and save your own.
A segment is a saved combination of columns, filters, and sorting. Select the segment button (it shows the current segment name and icon) to switch.
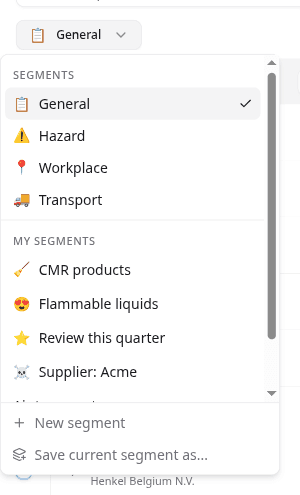
Switch between the built-in segments
Four segments are built in:
| Segment | Shows |
|---|---|
| General | Product name, status, labels, language, hazard level, and update dates |
| Hazard | Signal word, GHS pictograms, hazard level, CMR and sensitising status, and the five EMKG classes |
| Workplace | Document ID and the workplaces each product is assigned to |
| Transport | ADR class, UN number, Kemler code, proper shipping name, and packing group |
The hazard level indicator rates overall risk on a 1–5 scale. Hover over it to see the Health, Environmental, and Safety sub-scores. A grey indicator means NextSDS processed the product but found no hazard level.
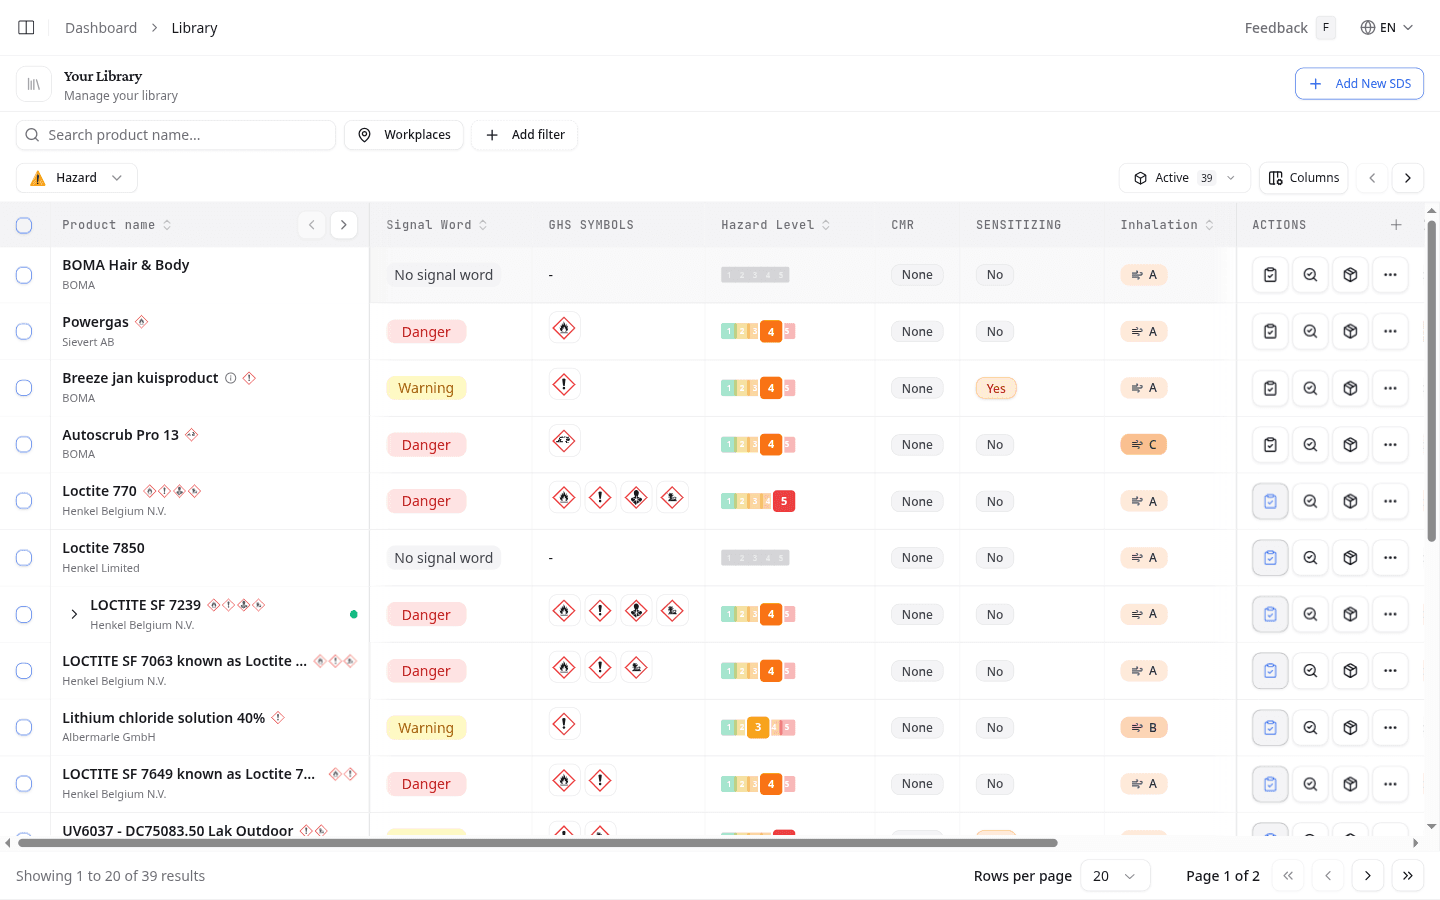
Choose and arrange columns
Select Columns to change which columns the list shows. Search for one by name, or browse the groups. The columns already in view sit at the top under Shown, where you can drag them into the order you want.
Each column header has its own menu as well, with Move left, Move right, and Hide.
Save your own segment
Set up the list the way you want it: choose your filters, sort the columns, and use Columns to show or hide columns. NextSDS then offers a Save segment button.
- Select Save segment.
- Give the segment a name, and optionally pick an icon.
- Select Save.
Saved segments are shared with your whole team. To keep one at the top of the list, hover over it and select the pin. Its options menu also has Rename, Overwrite with current segment, and Delete.
To start from an empty column set instead, select New segment.
What to do next
With the right products in view, act on one from its row or work on several at once.