Generate a CLP label
Create CLP-compliant hazard labels for chemical containers, as single labels or several per A4 sheet, and save them for reuse.
A CLP label carries the product name, GHS pictograms, signal word, hazard statements and supplier on the container itself. You pick a size, adjust what the label says beside a live preview, and save the configuration so the next print is one click.
How to get here
Open a product from your library, then select Print Label from its options menu.
Choose a label
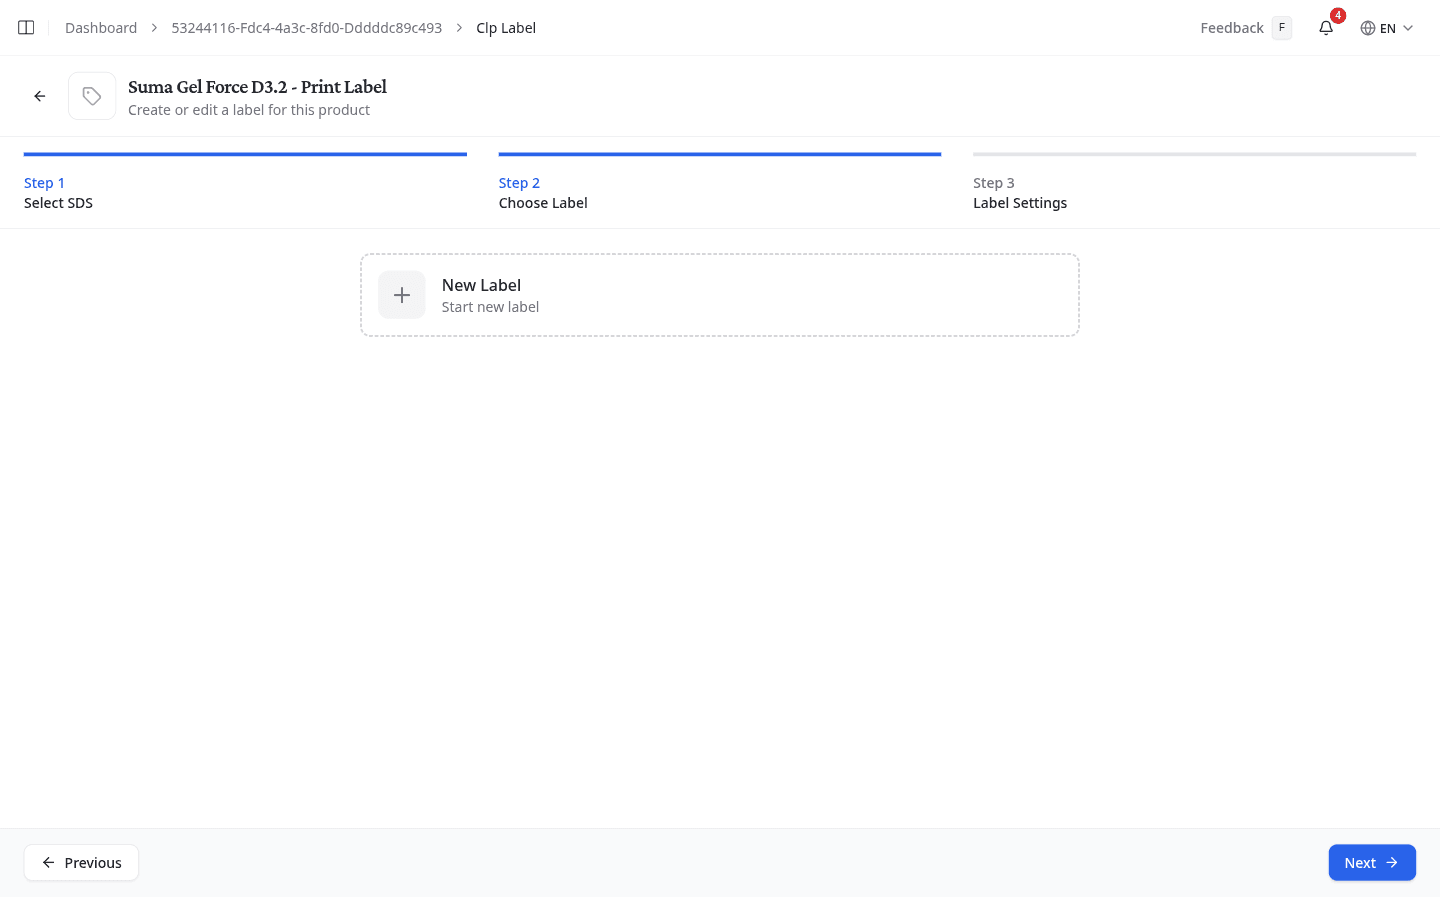
Saved Labels lists the configurations this product already has, each with its name, size and date. Select one to load it and carry on editing; saving then overwrites it.
New Label starts a fresh configuration.
Select the SDS
The Select SDS step appears when the product has more than one SDS linked to it, in different languages or for different markets. Each row shows the language, target markets and the date the sheet was last updated. With a single sheet, NextSDS uses it and opens the wizard on Choose Label.
Set up the label
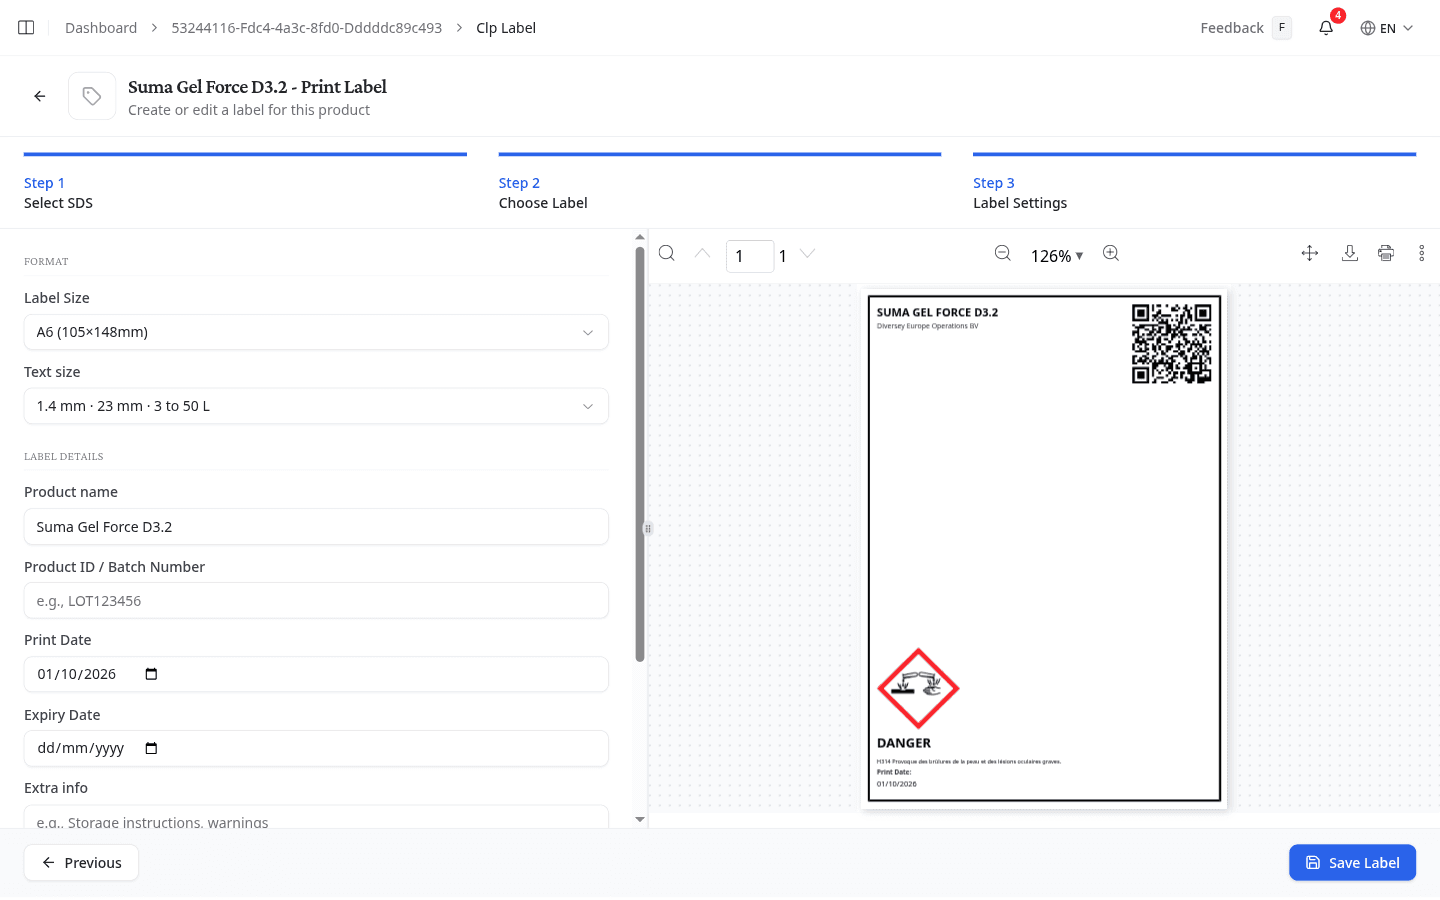
The form and the label it produces sit in one step, so every change shows in the preview as you make it. Drag the divider to give either side more room.
Format
Label Size offers four Standard sizes for a single label, and three A4 sheets, several labels layouts:
| Group | Options |
|---|---|
| Standard sizes | A4 (210×297mm), A5 (148×210mm), A6 (105×148mm), A7 (74×105mm) |
| A4 sheets, several labels | 2 labels at about A5, 4 at about A6, 8 at about A7 |
Sheet labels print just under their A size, at 200x141mm, 141x100mm and 100x70mm. Labels at the exact A size would tile A4 edge to edge, leaving no room for the 4 to 6mm no printer can reach, so the outer frames would come out missing. Print at 100%, not "fit to page", or they shrink twice. Print a single label when the size has to be exact.
Text size sets the x-height of the body text and the size of the pictograms together. The four bands are the container capacities CLP Annex I names:
| Band | x-height | Pictogram |
|---|---|---|
| up to 3 L | 1.2 mm | 16 mm |
| 3 to 50 L | 1.4 mm | 23 mm |
| 50 to 500 L | 1.8 mm | 32 mm |
| over 500 L | 2.0 mm | 46 mm |
Choosing a label size sets the matching band, because the size already implies a container. Change it when the container it goes on says otherwise: a 5 L jerrycan labelled on A7 still wants the 3 to 50 L text.
Number of labels appears on the sheet layouts only, up to 200, and starts at whatever the sheet holds. Ask for more and they spread over as many sheets as that takes.
Label details
Product name is filled from the SDS and stays editable, because a supplier catalogue name is often not what people on the floor call the substance. Clearing the box puts the SDS name back rather than leaving the label unnamed: Codex Boek VI Art. VI.1-28 requires a name on the container.
The rest are yours to fill or leave empty:
- Product ID / Batch Number: your internal lot or batch reference
- Print Date: defaults to today
- Expiry Date: shelf life
- Extra info: free text, such as storage instructions
Include on the label
UFI code, Supplier, CAS number and EC number print exactly as the SDS states them, or not at all. They are switches rather than text boxes on purpose: a retyped CAS number is a label that contradicts the sheet it came from. The space they take is the real question on a small label.
The pictograms, the signal word, the hazard statements and the QR code are not listed here. They follow from the classification and always print.
Trim the precautionary statements
Show precautionary statements (P-codes) is off by default. Switch it on and every P statement from the SDS appears with a checkbox, all selected. Clear the ones this label does not need.
A saved label remembers the statements you cleared, not the ones you kept, so a supplier revision that adds a statement puts it on the label rather than quietly dropping it.
CLP expects at most six precautionary statements on a label, unless the hazards call for more. Hazard statements work the other way: the label carries every one that applies, which is why they have no switch.
Save the label
Save Label stores the configuration with the product. Enter a Label Name. When the product already has saved labels, Replace existing label lets you overwrite one instead of adding another.
To print without saving, use the download button on the preview's own toolbar.
What to do next
Create a Safety Instruction Card for the same product. The label goes on the container, the card goes at the workstation.