Import products from a spreadsheet
Add or update many products at once by uploading a product list.
One row becomes one product. The import checks each row against the products you already have, so running the same file twice updates them instead of adding a second copy.
Open Your Library and select Import products. If you do not see that button, contact support to have the importer switched on for your team.
Prepare your file
Save your product list as a .CSV file. One import takes up to 5,000 rows, in UTF-8, separated by commas or semicolons.
Select Download CSV template on the first step to get a file with the column headers the Library recognises. A file built from it arrives with every column already mapped, which turns step 2 into a quick check.
These are the fields you can fill:
| Column | What it holds |
|---|---|
| Product name | Required. The name as printed on the label or the invoice. |
| Supplier | The company that supplies or makes the product. |
| SKU | Your internal product code. |
| EAN | The product's barcode number. |
| Product ID | The identifier NextSDS gave the product. Only present in a file exported from NextSDS. |
| Workplaces | Where the product is used or stored. |
| Approval | The review decision: Accepted, In review or Rejected. |
| Labels | Your own tags for the product. |
| Archived | Whether the product is hidden from the active list. |
| Date product arrived | When the product was first received. |
Your team's custom fields can also be filled from a column.
Check your barcode column before you save the file. Spreadsheet programs rewrite long numbers into a short form such as 3,60053E+12, which drops the last digits. Every row carrying that same shortened value is then read as one product. Format the column as text before exporting, or leave it out of the import.
Step 1: Upload your file
Drag the file onto the upload area, or select Choose a .CSV file.
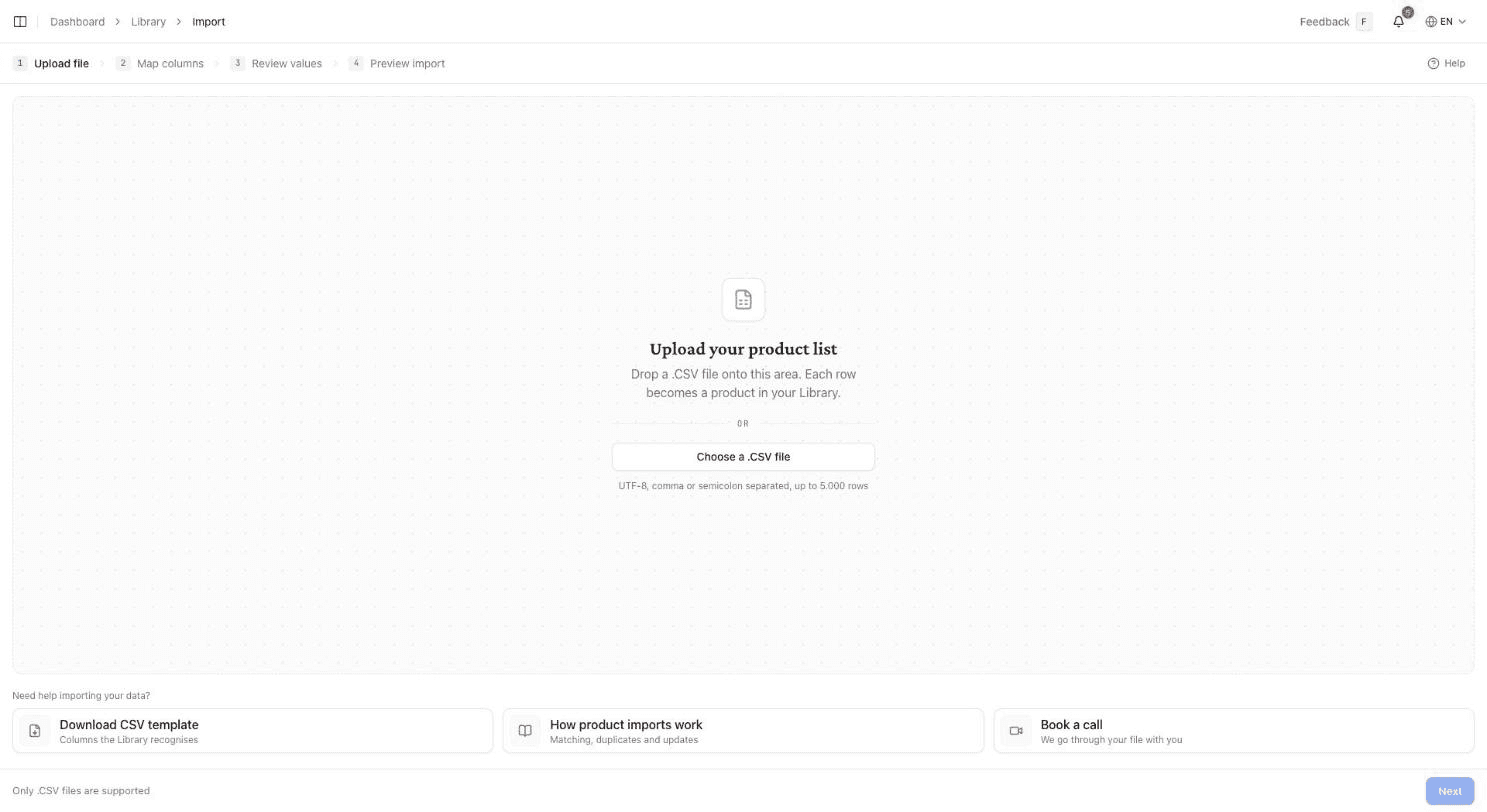
Columns found and Rows found report what was read, so you can confirm the file arrived whole before going on. Select Remove file to swap in a different one. Select Next to continue.
Step 2: Map columns
Each column in your file is matched to a Library field. NextSDS reads your column headers and proposes a field for each one, so most files arrive mapped already.
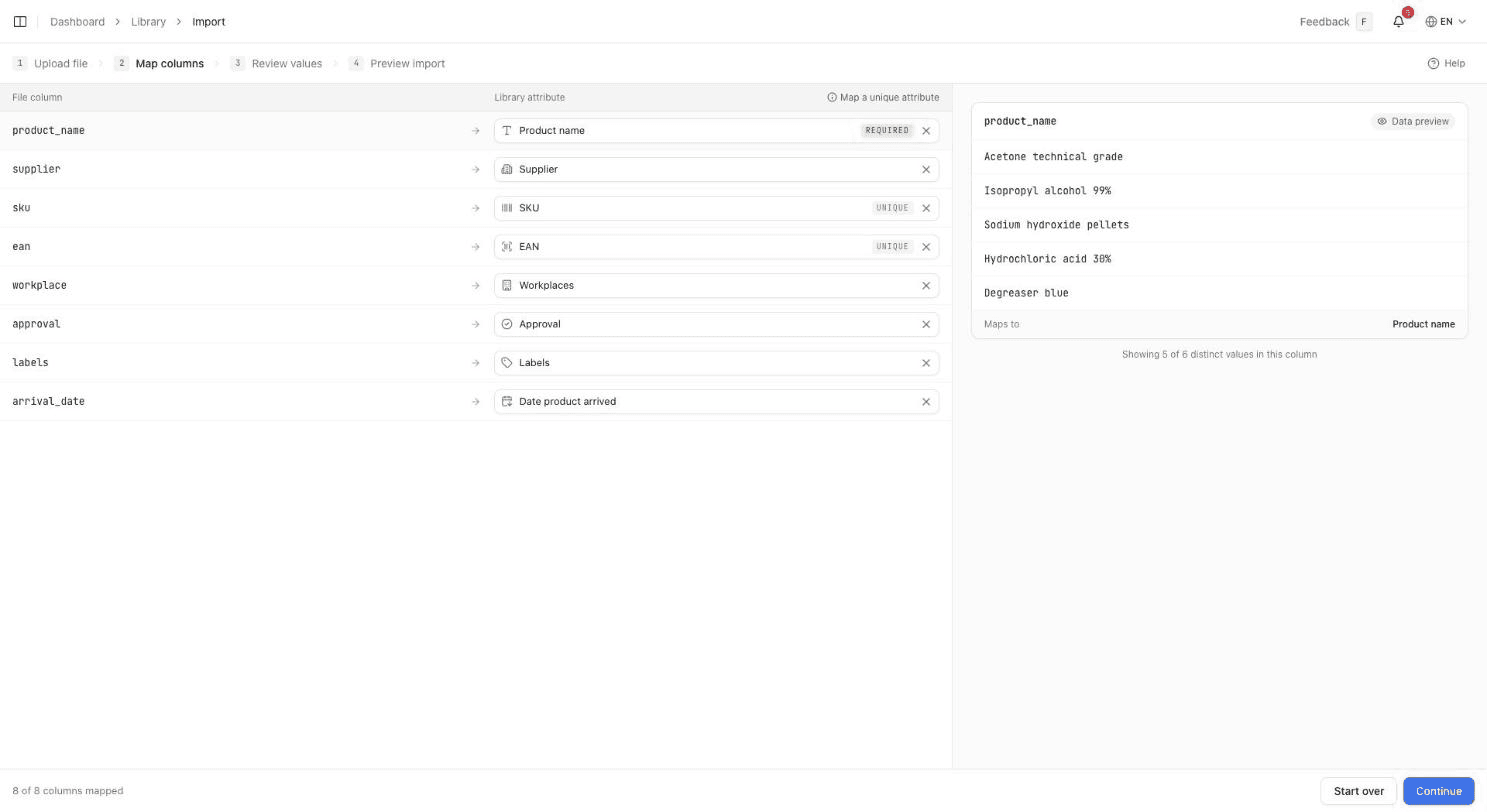
Check each column and correct any field that is wrong. Select Do not import this column for the ones you want to leave out, such as internal notes or prices. Selecting a column shows its values, so you can confirm you picked the right field.
One column must be mapped to Product name before you can continue.
Let the import recognise products you already have
The import matches a row to a product you already have by Product ID, SKU or EAN. If none of those are mapped, it falls back to Product name and Supplier together.
Map one of the first three whenever your file has them. They identify a product exactly. A name is weaker: a product renamed since your last export is not recognised, and the row creates a second copy.
When none of the three is mapped, the import warns you before you continue. Select Go back to map one, or Continue with duplicates to accept matching on name and supplier.
Step 3: Review values
Workplaces, Approval and Labels can only hold values your team already uses. This step shows what your file says against what will be written, so a file saying Lab 2 lands on your own workplace rather than inventing a new one.
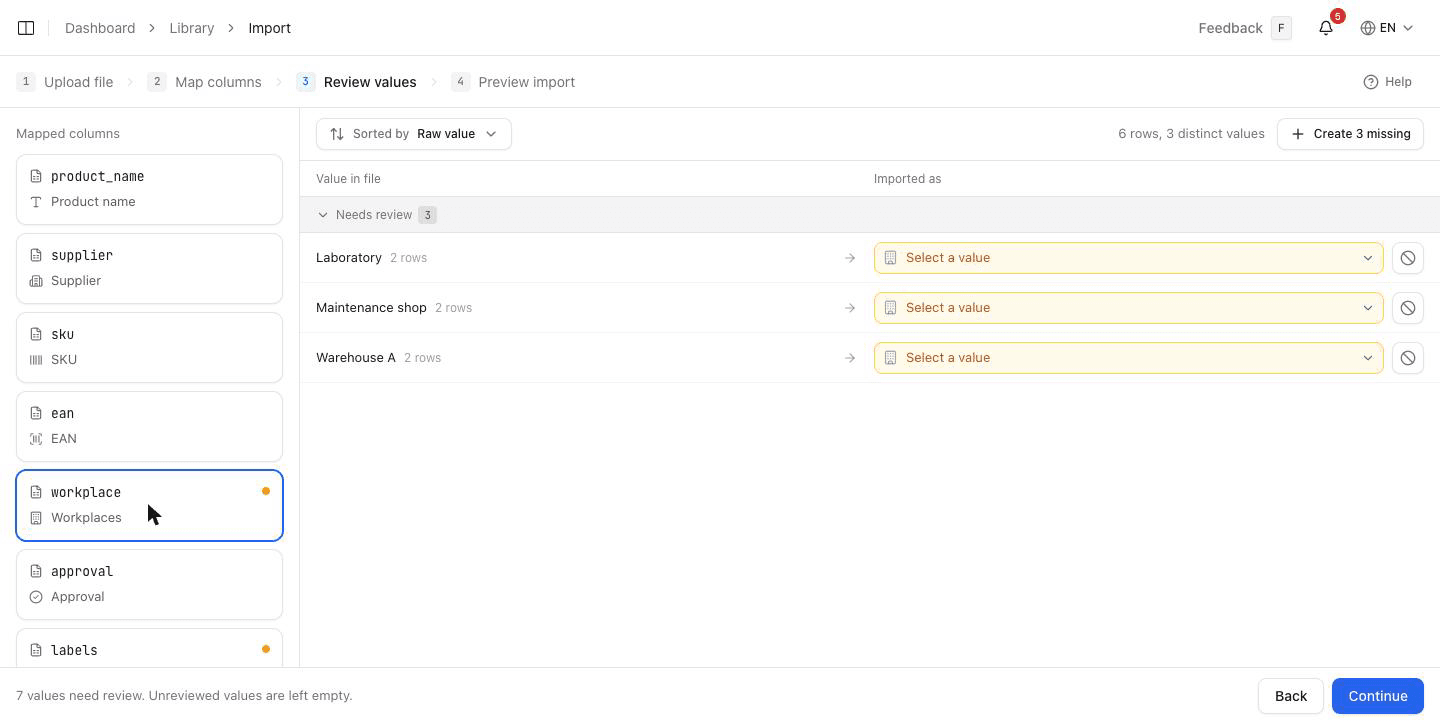
Values are grouped by what they still need from you. Work through Needs review first. The rest were matched automatically, or mapped by you on an earlier visit.
For each value you can:
- Pick the value your team already uses
- Select Create "..." to add it to your team's list
- Select Give this a value when the cell is empty in your file
- Select Do not import this value to leave that cell blank on the product
Create 3 missing adds every unmatched value in the column at once. The number counts what your file introduces, so it changes with the file.
Any value you leave unreviewed is left empty on the product.
Step 4: Preview the import
The preview says what the import will do before it does it. It counts the products it will create and update, and marks what each row lands on.
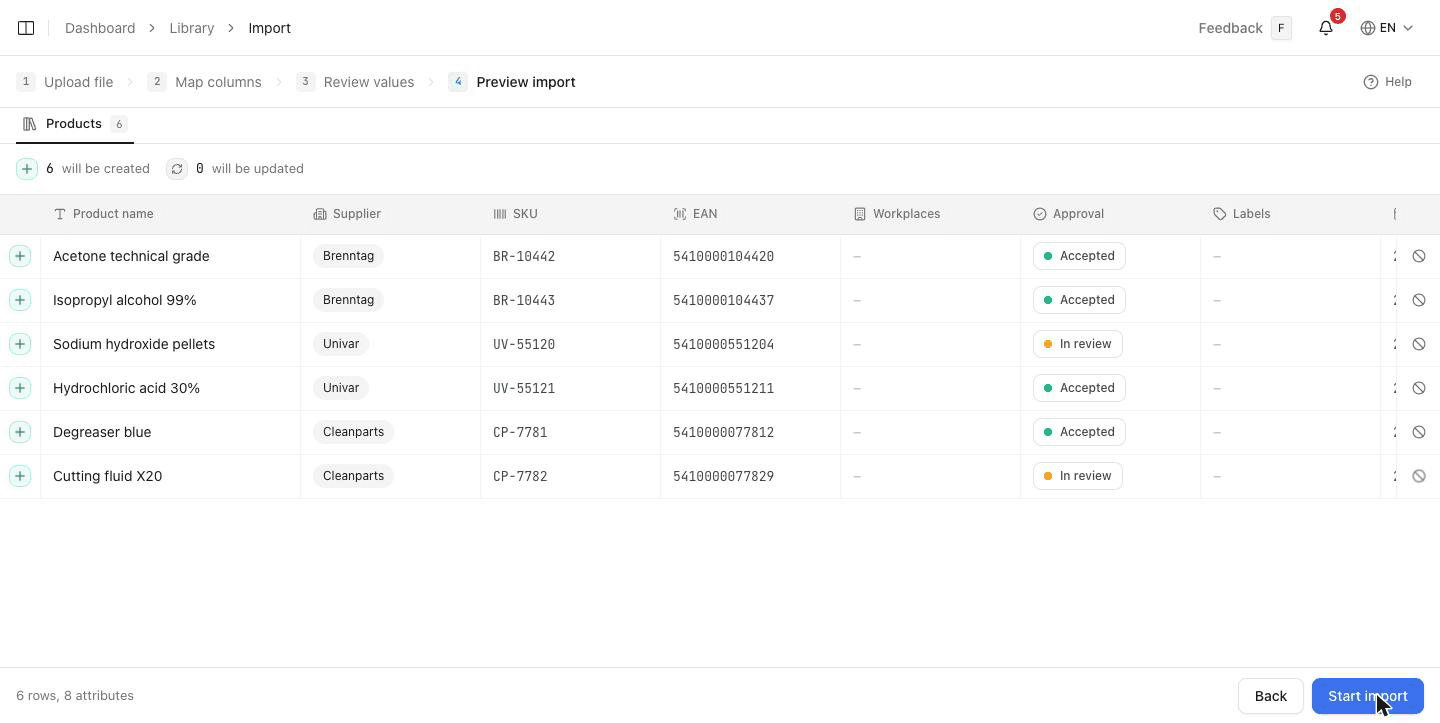
Read the counts first. They are products, not rows, and the two differ whenever rows share an identifying value. When rows merge onto one product, the preview names the values responsible so you can find them in your file.
Each row is marked with what it will do:
| Marker | What happens |
|---|---|
| Creates new product | Nothing in your library matches this row. |
| Updates existing product | The row carries an identifier you already hold. |
| Possible match in your library | The name resembles a product you have, but not closely enough to decide. |
A possible match waits for you. Select This is the same product to update it, or No, create a new product to keep them apart.
To leave a row out, select Leave this row out of the import. Select Put this row back in to restore it.
Show only these rows narrows the list to one kind of row while you work through it, and Show all rows brings the rest back.
When the preview is right, select Start import.
After the import
The products are written in the background, so you can leave the page. NextSDS then looks for a safety data sheet for each new product and attaches what it finds.
Select Open Library to see them arrive, or Import another file to run a second list.
If the import stops before it finishes, check your library before running the same file again. Some products may already be in it.
What to do next
Check which of the new products still have no safety data sheet, and act on several at once.